Leaving face unprocessed
In this section, you will learn how to leave any faces of a 3D model unprocessed.
You can specify one of more faces of a model as unprocessed in the 3D preview. The geometry and finish of the face is adopted directly from the selected 3D model and semi-finished product and the face will not be processed further. In the calculation of the part, there will be no additional cost which decreases the manufacturing costs of the part significantly.
-
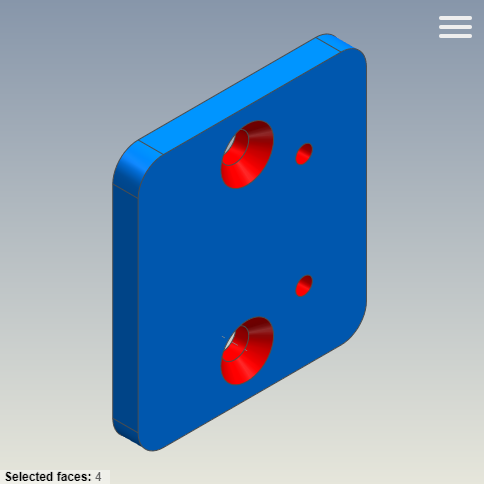
Click on one or more faces of the selected model or tap on it if you are using a tablet.
-
Right-click on a highlighted face or tap and hold if you are using a tablet.
A context menu opens.
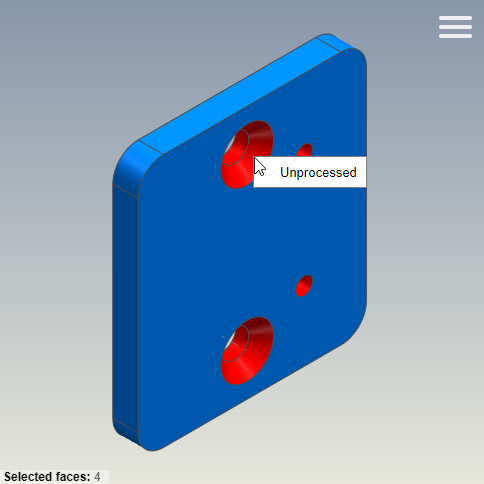
- In the context menu, click on Unprocessed in order to specify the faces as unprocessed.
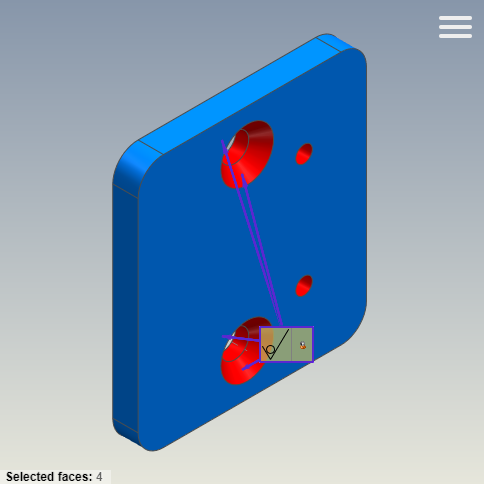
You have specified multiple faces of the model as unprocessed. The relevant annotations are shown in the 3D preview.
After the calculation of the part, all unprocessed faces are shown in the gray in the 3D viewer.

Note: If the annotation for the faces is not shown, click on Show annotations in the menu of the 3D preview or press the O key on the keyboard.
Note: In order to remove the annotation, right-click on the face and then on "Remove “unprocessed” or press the Del key on the keyboard.