Adding threads to a model
In this section, you will learn how to add threads to a model in the 3D preview.
You can add threads to a model in the 3D preview to further specify the geometry of a selected sample model or your own 3D model. In models, you can generate threads in drill holes (inner threads) and threads on cylinder (outer threads).
-
Click on the face of a drill hole or tap on it if you use a tablet.
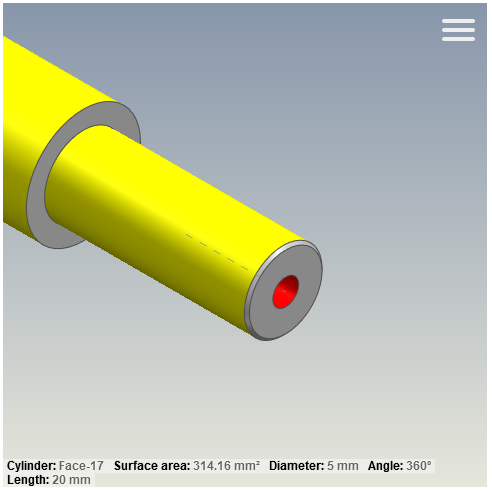 The identifier of the face, surface area, diameter, angle and length are shown.
 -
Right click on the highlighted face or tap and hold if you use a tablet.
A context menu opens.
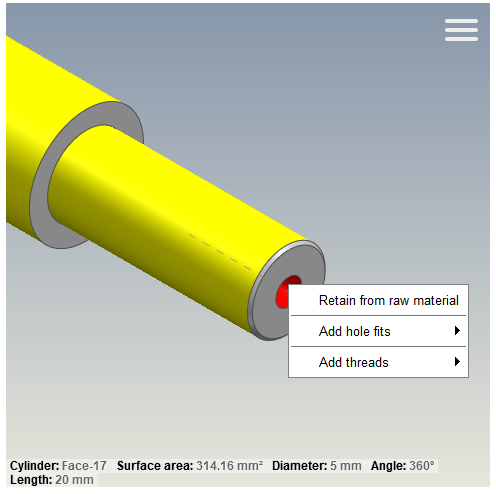
-
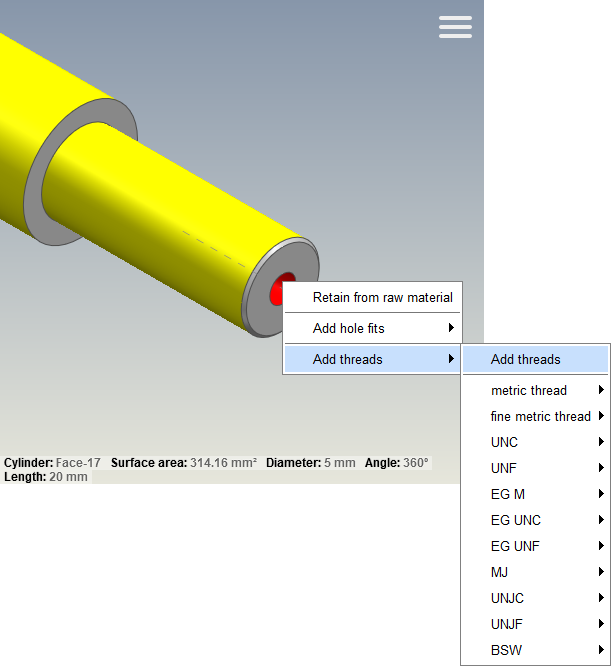
In the context menu, select a thread type under Add threads a thread type or click on Add threads to specify the measurements for the threads manually.
 The Add threads window opens.
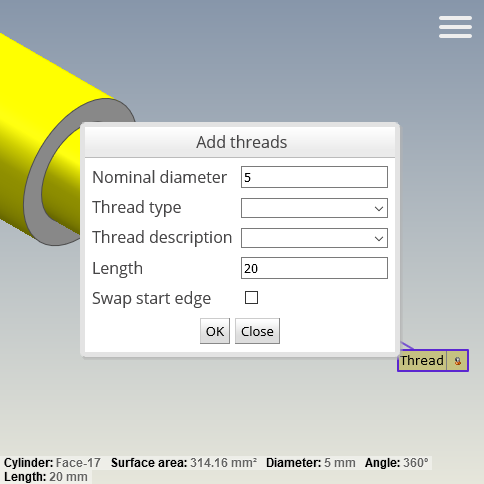
-
Specify the measurements for the threads as required, e.g. specify 11 mm as Nominal diameter, metric thread as Thread type , M11 as Thread description and 15 mm as Length.
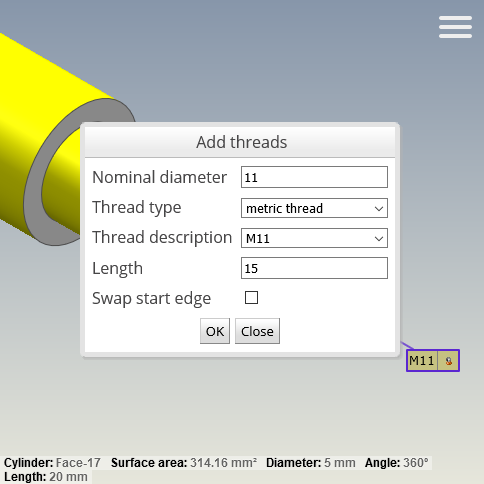
- Click on OK.
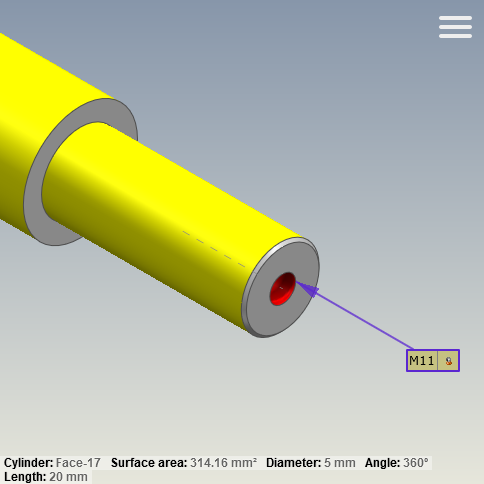
Note: If the thread description is not shown in the annotation, click on Show annotations in the menu of the 3D preview or press the O key on the keyboard.
Note: To remove the thread, right click on the thread, then click Remove thread or press the Del key on the keyboard.